Do-it-yourself instructions for mounting a generator on a VAZ 2112
A few years after the purchase of the car, a breakdown may occur. Most often, car owners are faced with a problem in the operation of the generator. In order to get rid of the problem you need:
- remove the device;
- disassemble, detect an error, fix or purchase a new generator;
- install a working device.
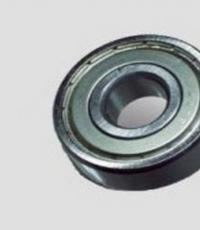
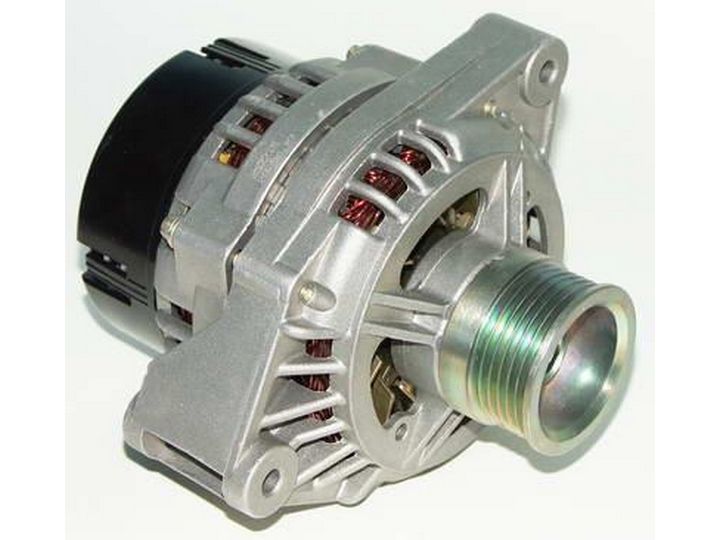
Generator
In order to independently disassemble the parts of the machine, you need to know what they are intended for. So, a generator is a design that is designed to provide electricity to all parts by converting mechanical energy into current. That is, the battery is charged while the engine is running.
Short information:
- the generator is located in front of the engine;
- with the help of the crankshaft, work begins.
To date, there are two types of devices: compact and traditional. There are significant differences between them, for example, a different fan layout, case type, and so on. But the basic details remain the same. Therefore, if the owner of the car at least once figured out the details on his own, then when disassembling devices, another type can easily work. Component parts - rotor, brush assembly, stator, rectifier unit.
Mounting the generator on the VAZ 2112
VAZ 2112, mounting the generator should not be difficult, since installation is similar in almost all brands of domestic cars. But in order for the work done by one's own hands not to cause discontent, it is necessary to remember all the nuances.
- Before mounting the generator on the VAZ 21124, you need to make sure that the negative battery terminal has been disconnected. This is one of the important points in the work, since otherwise a short circuit may occur.
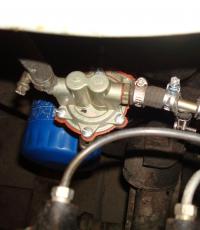
- Next, you need to properly position the generator, while constantly holding it. Using the key number 13, tighten the bolts, as shown in the photo below.
- Install tension bar.
- Using a special ring wrench No. 10, tighten the adjusting bolt in the upper bracket.
- Correctly tighten the alternator belt so that there are no further breakdowns.
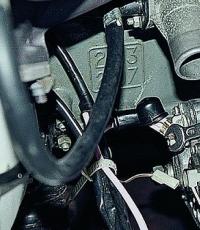
- Using a No. 10 wrench, screw the nut intended for fastening the wires to the generator drive with positive polarity. Thus, both wires are installed.
- Connect the excitation wire of the device.
- Install the engine mudguard.
- Turn on the negative polarity terminal to resume operation. After complete installation, it is better to check the alternator drive belt, you need to adjust the tension.
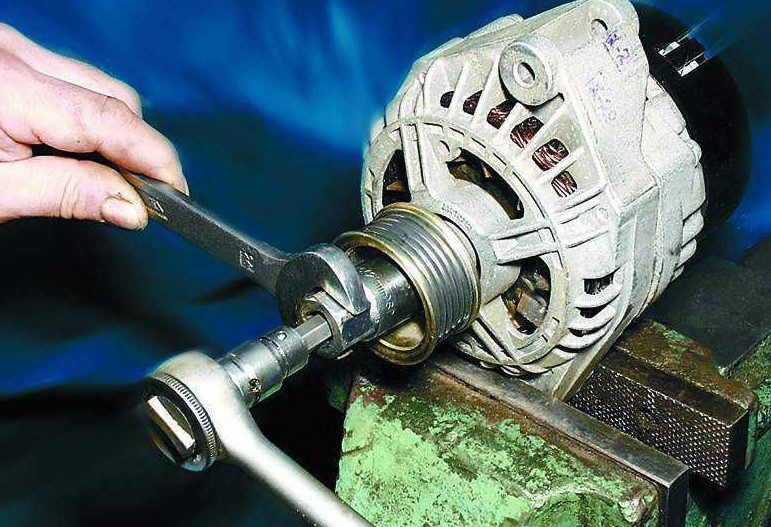
The fastening process is preceded by the removal of the device, the definition of a breakdown, and the subsequent repair. In order to remove the structure, you need to perform the steps in reverse order.
Machine operation cannot be continued if there are problems with the generator. It is necessary to check the device after a run of 15,000 km. Diagnostics determines the state and in case of any malfunctions, it is urgent to correct the situation without delay. Repair always includes the analysis of the part. For this, keys No. 10, 13 are used. Most often, the reason is determined at the stage of demonstrating the main bolt of the rectifier unit. If, however, it was not possible to determine the breakdown, you need to continue the analysis to the end.
Possible negative consequences
There are a number of consequences that can occur when installing a generator in a bottom bracket. For example, because of the bushing, the entire structure is difficult to enter, the belt is tensioned only after a special tension bolt has been tightened using a No. 10 key. Nuts (No. 13) must be tightened after checking the belt, and its tension must also occur while tightening the nuts located on top.
In the event that the structure was tightened much more than expected, there will be a rapid wear of parts (such as a belt, pulley, bearings), and, consequently, an early breakdown. A weak tension will lead to damage to spare parts, a kind of whistle during operation, to the inability to charge the battery and subsequently, to its replacement.
Correct belt adjustment
In order for the generator to serve for a long time, it is necessary to determine the position of the belt.
- The part should bend a little - approximately 10 mm, in the process of 10 kgf force between the device and the crankshaft pulleys. If the figure is different, then it is better to make an adjustment immediately. First of all, you need to loosen the nuts of the upper and lower generator.
- Then determine the entire structure to the cylinder block, turning from right to left (in order for the belt to be tangibly released). Therefore, in order to tighten, you need to take steps in the opposite direction - take the device away from the cylinder, turn the bolt in the direction from left to right, that is, clockwise.
- Using a wrench, turn the crankshaft clockwise two times using the pulley mounting bolt.
- Next, you need to re-check the fastening. If the result is bad, it is better to immediately repeat the steps.
- Tighten the remaining two nuts.
There is also a second verification option. It is more convenient and better to work at the bottom of the car, but for this you need to remove the right front wheel. When replacing, removing the belt, loosen the tension of the nuts in the lower, upper part. The bolt intended for adjustment is turned out to the maximum value, the generator is pushed to the cylinder block and the belt is removed. After inspecting the existing belt, you can proceed to install a new one. Initially, it is better to put on his crankshaft pulley, and then the generator itself.
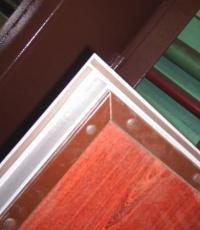
bracket
Most often, the reason for the poor performance of cars lies not in the design itself, but in its bracket. The mounting bracket for the VAZ 2112 generator is fragile, as it is not made of metal. If the parts are installed incorrectly, the fastening of all nearby devices will be beveled, which, in turn, will crack the bracket.
Many car owners complain that auto parts have to be changed every three months. So, for example, of all the machines, the mount of the VAZ 21124 generator breaks most often. In this case, it is better to consult with specialists and, if possible, make a metal bracket yourself or order from a master.
It must be remembered that the breakage of the bracket is a kind of indicator indicating the existence of a skew, incorrect installation of the generator, excessive tension or loosening of the belt. Only after the cause is identified and eliminated, the parts will serve for a long time.
The above instruction allows you to understand the structure and installation steps of the parts. But in order to better understand the sequence of actions, you need to familiarize yourself with the information provided in the attached video. Based on the fact that the work must be done independently, then its price will be low.
With sequential actions, removal and installation will allow beginners to better understand the internal structure of the machine. The main motto in such work is attentiveness, since with improper fastening or a slight bevel, deviation, many spare parts may break down in the future, which will lead to costs.