Self-replacement of bearings on the VAZ 2110 generator
Sooner or later, the owner of a VAZ 2110 car will have to change the bearings on the generator, since all parts wear out over time. Of course, bearings can be replaced in a car service, but such a service is not cheap. In the meantime, you can change the bearings with your own hands. We will talk about how to make the replacement correctly in this article.
The purpose of the bearings of the VAZ-2110 generator
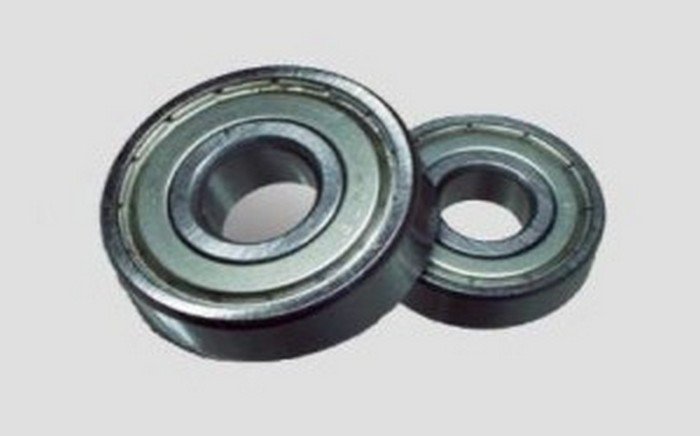
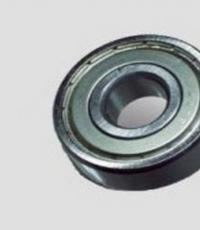
Front and rear bearings of the VAZ 2110 generator
It is simple: to ensure smooth and uniform rotation of the generator rotor. Both bearings, front and rear, are under special covers. And you can get to them only after dismantling the generator and removing the protective covers.
When is it necessary to change?
If the car's generator starts to creak and howl during operation, this is the main sign that it is urgent to replace the bearings. Howling is usually caused by a lack of lubrication in the separators of these parts. Alternatively, the bearing cage may simply fail due to wear or fatigue.
There is one nuance here that should definitely be mentioned. Sometimes on the VAZ 2110, not a howl is heard from the generator area, but a thin, barely distinguishable creak, which the car owner can mistake for the creak of a failed bearing. But most often it is the pump that creaks or this sound is made by the roller on the timing belt. To understand that it is the alternator bearing that creaks, you should remove the belt. If the sound does not disappear, then the problem is in the bearings.
What types of bearings are on the top ten: part numbers and sizes
Bearings in the generators of VAZ 2110 cars are closed, ball, single-row, have a double-sided seal.
- Front marking - 6202 2RS (in domestic catalogs under the number 180202).
- Rear bearing - 6103 2RS (aka - 24940220).
An important point: when choosing bearings, special attention should be paid to the manufacturers of their hubs. Usually, VAZ 2110 bearing hubs are produced in Samara, their marking is SP3-4.
You can also find hubs of 23 GPZs (this is Vologda) and 3 GPZs (this is Saratov) on the market. It is strongly not recommended to buy bearings on which the hubs are not marked. Also, you can not buy Chinese generator bearings, which are now found everywhere, since the quality of these bearings does not stand up to criticism.
DIY replacement tools
- Set of alternator bearings (front and rear).
- Open-end wrench set.
- Screwdriver with a flat sting (medium size).
- A hammer.
- Vice.
- Alternator pulley puller.
Sequencing
- The positive terminal of the car battery is disconnected.
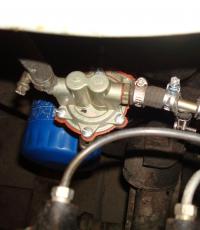
- Now it is necessary to remove the timing belt, for this, the fixing nut is unscrewed with a 13 open-end wrench, after which the fixing bolt is unscrewed from the tensioner with a 10 open-end wrench.
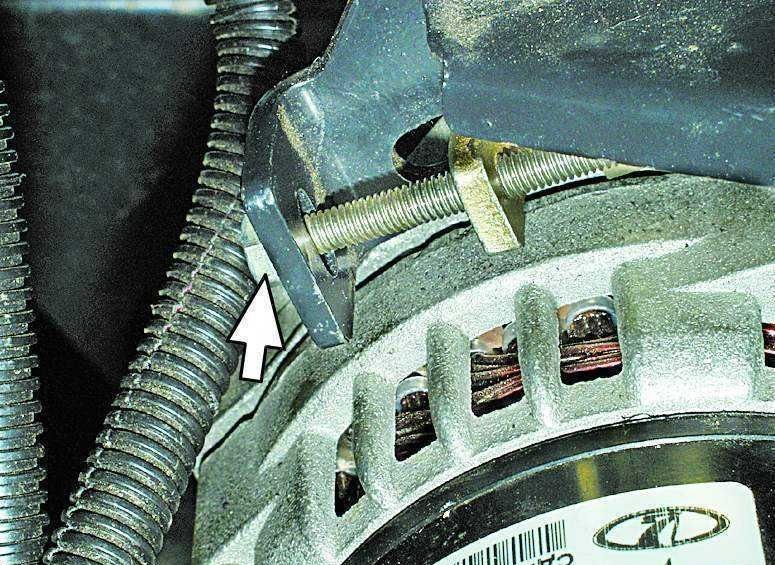
The arrow indicates the location of the alternator tensioner mounting bolt
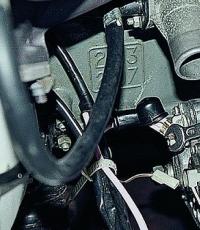
- All wires are disconnected from the generator, then its lower mount is unscrewed with a 13 key, the bolts are removed and the generator is removed from the car.
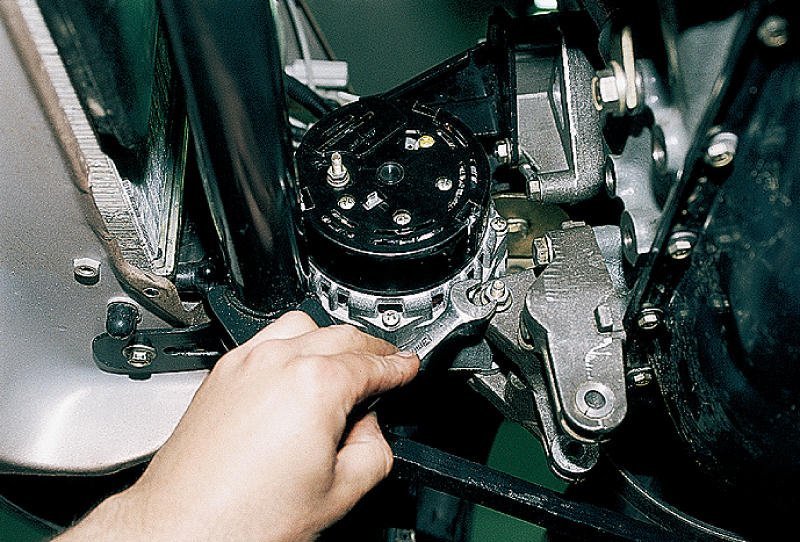
Dismantling the lower mounting of the generator
- The next step is to disassemble the removed generator. A key is taken for 24 and the generator pulley is unscrewed. Unscrewing it is not so easy, so it's best to use a vise.
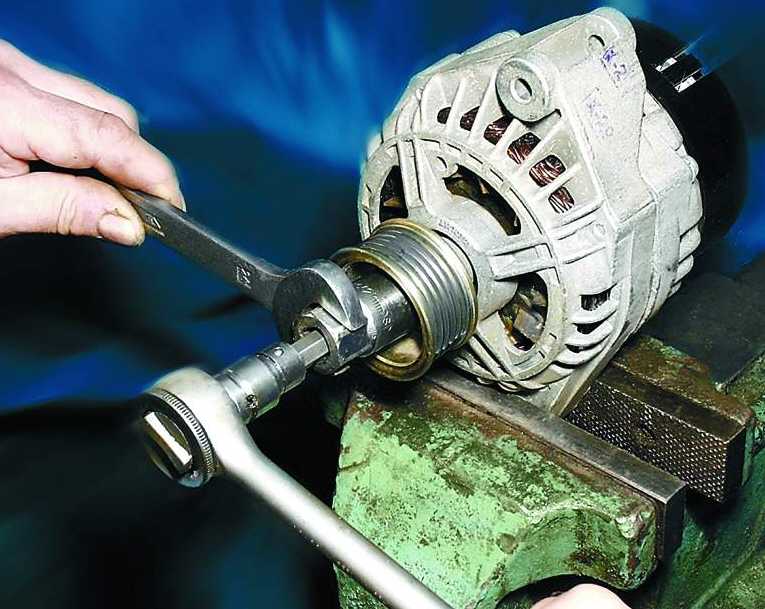
It is more convenient to unscrew the generator pulley in a vice
- After the pulley nut is unscrewed, it must be removed from the generator axle. To do this, use a puller, which can be purchased at any auto parts store.
- After removing the pulley, you can proceed to disassemble the case, but before that you need to remove the brush holder, voltage regulator, capacitor and diode rectifier. All this is under a plastic cover.
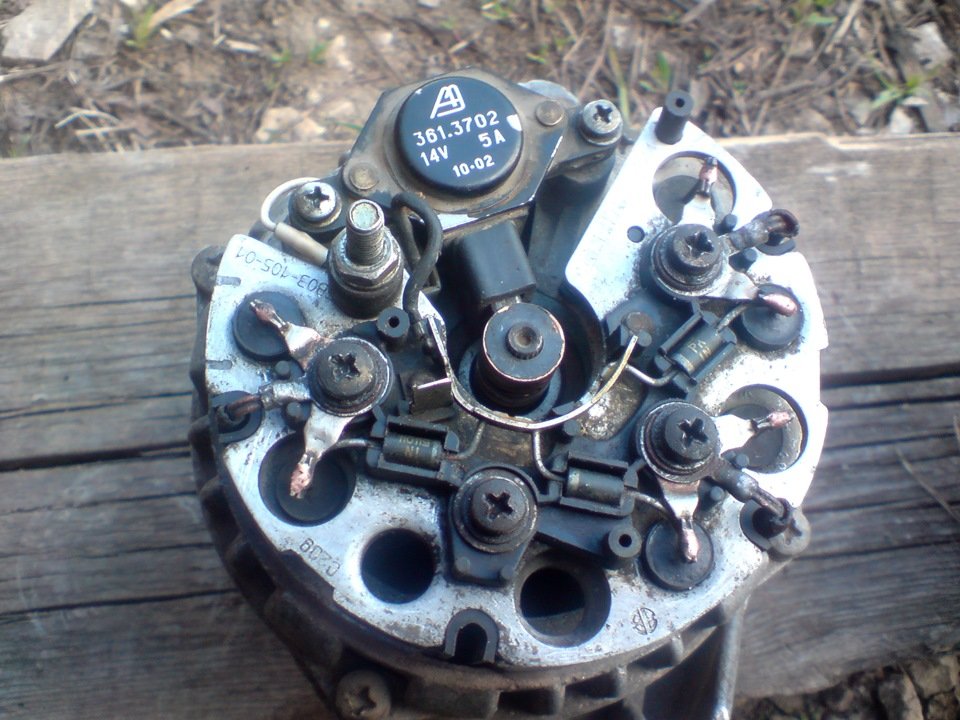
It looks like a VAZ 2110 generator without a brush holder
- To disassemble the case, you will need to unscrew 4 fixing screws. It is they who hold the 2 parts of the body together. It is far from always possible to unscrew these screws, since they are often literally welded to the case. So before unscrewing them, it makes sense to take a special fluid (WD40 is best), fill in these screws and wait a bit.
- After removing the screws, the front generator cover can be removed. This is where the front bearing is pressed into. In order to remove it from there, you will need a mandrel, the diameter of which is slightly smaller than the diameter of the outer ring of the bearing (a piece of pipe of a suitable diameter is suitable as such a mandrel). The pipe is installed on the ring and the bearing is knocked out of the cover with several hammer blows.
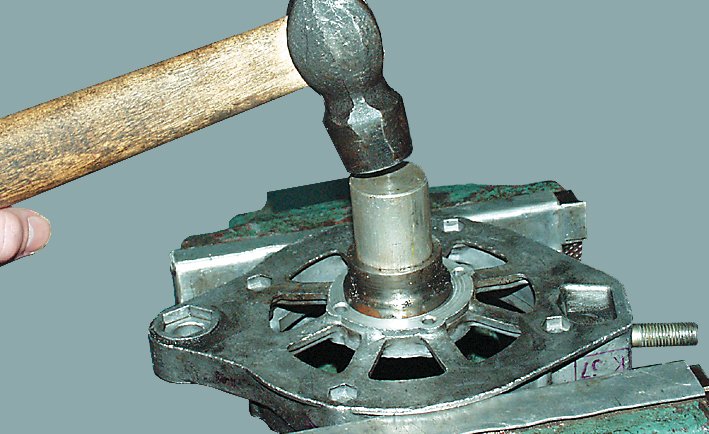
Pressing out the front bearing VAZ 2110 with a mandrel should be done without any extra effort
- A new bearing is installed in the vacated space and pressed in using the above mandrel and a hammer.
- The next step is to replace the rear bearing. To replace it, the stator will have to be removed from the generator. Then the plastic support of this bearing is pushed out (this can be done with your fingers) and removed from the rotor. Only after that it will be possible to get to the rear bearing.
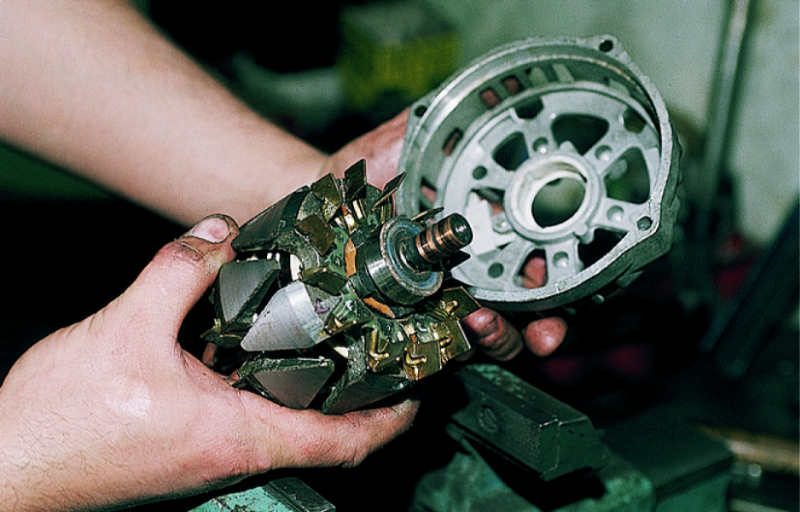
The alternator rear bearing will only be accessible after the rotor has been removed.
- You can remove it from the pulley with the same puller that was used to remove the front bearing. After the bearing is removed, a new one is pressed in with a hammer and a mandrel, however, the diameter of the mandrel must match the inner, not the outer ring of the bearing. Damage to the outer ring must be avoided at all costs. In addition, it is absolutely impossible to clamp the generator rotor in a vise when pressing the rear bearing: the rear part of the rotor is very soft, and scuffs form on it from the vice, which can interfere with the correct assembly of the generator.
- Ideally, the rear bearing should be placed on the rotor using a hydraulic press. If this is not possible, the rotor must be placed on some wooden surface during pressing. And on the thread (on the one along which the rear pulley is screwed onto the rotor), you must definitely screw some kind of nut. This will protect the threads from damage (these threads are also very soft, as is the entire back of the rotor).
- After the rear bearing is pressed in, the generator is reassembled.
How to change: a step-by-step video guide with wizard comments
The conclusion from today's article is simple: if the bearings in the generator whistle, they must be changed, and immediately. Because not only they can fail, but the entire generator. One day it will simply jam, its rotor will stop rotating, and fragments of the scattered separator will damage the generator windings. And such damage is beyond repair. You will have to change the entire generator, and this is very serious money.