Repair of the VAZ 2107 generator - we do it right
Every failure has a cause and effect. Let's try to figure it out and make repairs using the right technology.
Causes of malfunction and repair
The main reasons for the repair
So:
- Windings burned out;
- The brushes have worn out;
- Hull cracked;
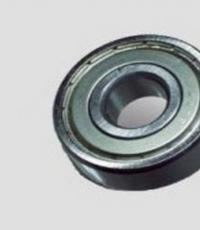
- Noise (creak) bearings;
- Other reasons.
Attention: It is more convenient to replace the unit from the bottom of the car. To do this, you will need to unscrew the boot that protects the machine. You will need a lift or a viewing hole.
We make a withdrawal
How to replace the VAZ 2107 unit with your own hands:
- Disconnect the "negative" terminal from the battery;
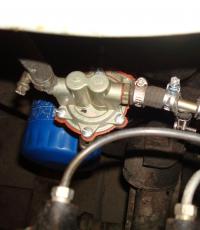
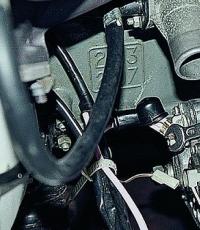
- Then disconnect the connector from the generator. (In the photo, we previously removed the battery and thermostat);
- Remove the insulation cover from the terminal. With a key of 10, unscrew the terminal, disconnect the wire;
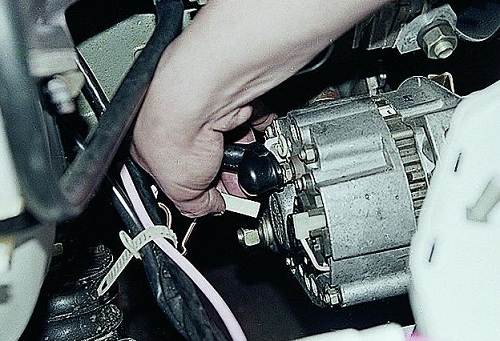
- We loosen the generator mount, then remove the belt;
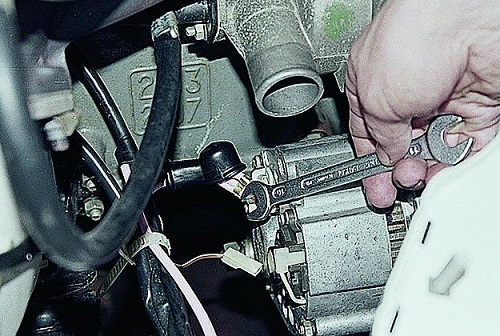
- Using a 17 key, we unhook the adjusting bar;
- Having unscrewed the nut of the lower fastening, we take out the bolt with the sleeve;
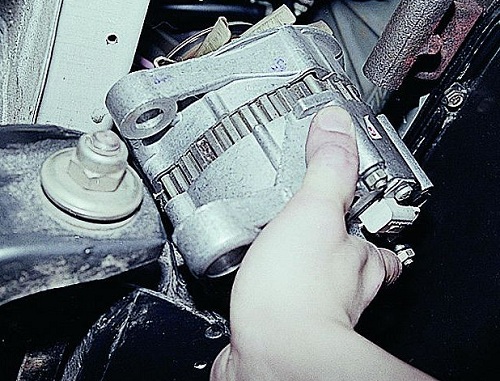
- We will install in the reverse order;
- After installation, we adjust the belt tension.
Generator repair
In this manual, we will consider in detail for the VAZ 2107 - generator repair.
For repairs, you will need a bearing puller, mandrels for pressing and knocking out bearings in the generator cover.
So let's get started:
- We unscrew the nut securing the pulley and the impeller with a socket wrench, hold the rotor from turning with a screwdriver;
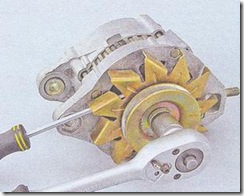
- We pull off the pulley from the shaft, then the fan impeller, take out the key, take out the spacers;
![]()
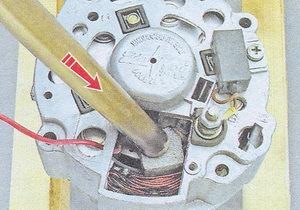
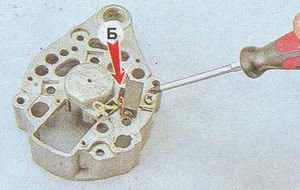
- We unhook the voltage regulator relay, unscrew the fastening screws first, disconnect the wire block;
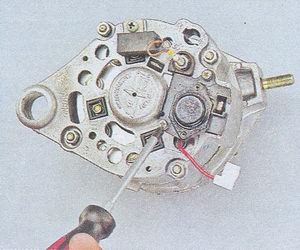
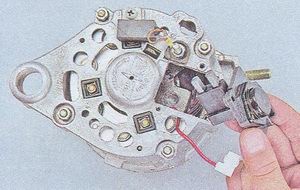
- We take out the voltage regulator together with the brush assembly from the housing;
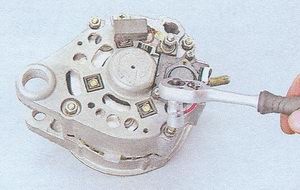
- We unscrew the head for 10 with a ratchet the nuts securing the generator cover, take out the bolts;
- We rest the cover on a block of wood, helping with blows on the shaft with a rubber hammer, knock down the front cover;
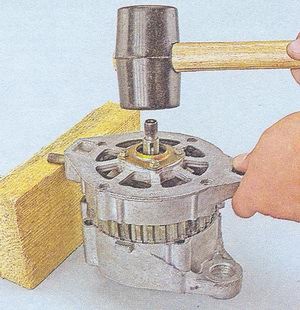
- We remove the cover, take out the remote sleeve;
- Check the condition of the front ball bearing. To do this, firmly hold the cover, turn and shake the bearing itself with your fingers (the inner ring of the ball bearing).
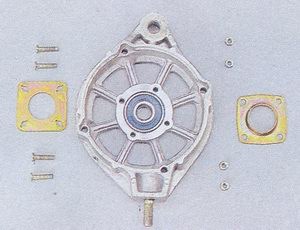
If excessive play is found or the bearing is broken, then it should be replaced with a new one; - To replace a faulty ball bearing - with an 8 wrench, unscrew the nuts of its fastening;

Attention: If the nuts cannot be loosened, then the riveted ends of the bolts must be sawn off. When assembling, we install new bolts, tighten their ends, then rivet with a core.
- We take out the mounting bolts and washers securing the bearing;
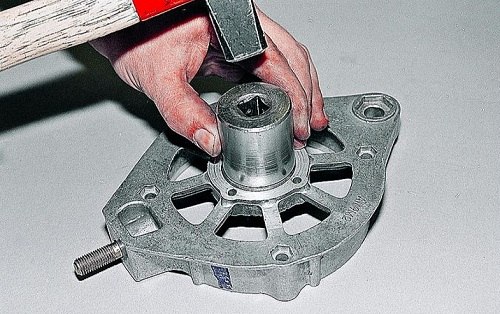
- We select a suitable mandrel (drill) and knock out the bearing;
- We take two wooden blocks, rest the edges of the back cover in them, using a punch made of soft metal, we knock out the rotor. If the surfaces of the covers are suddenly damaged, treat them with an abrasive wheel;
- We check the serviceability of the rear ball bearing, in the manner described in paragraph 8;
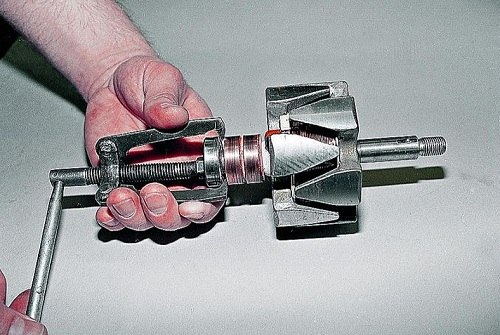
- If replacement is required, we pull it off the rotor using a puller;
- Using a head for 8 with an extension cord and a ratchet, we unscrew the nuts for fastening the diode block (diode bridge) and the leads from the stator winding;
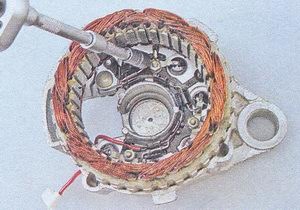
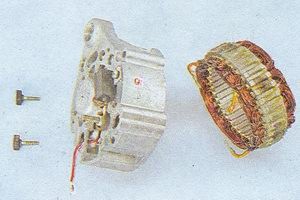
- We take out the bolts, and pull the stator out of the cover;
- We check the integrity of the stator winding. If the winding is damaged by mechanical impact (wires breakage), or from overheating (blackened, burnt), then we replace the stator winding or rewind it, if time and price of the issue allow;
- We remove the generator output nut with a ratchet head together with a washer made of insulating substance;
- Now we can remove the diode bridge itself;
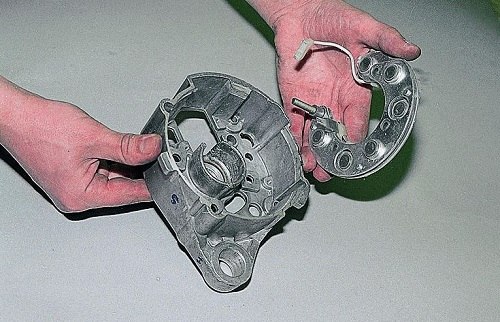
- Using a Phillips screwdriver, unscrew the screw securing the capacitor, remove the capacitor. We remove the third bolt from the cover, which secures the rectifier unit.
After complete disassembly of the generator, we check the stator with the rotor using a test lamp (watch the video).
VAZ 2107 generator (repair and replacement) on your own is not such a difficult matter, you no longer need the services of auto electricians. This will save you a lot of money.
Let's start assembling the VAZ 2107 generator
Before starting assembly:
- clean all parts from dust, dirt
- blow it out with air using a compressor.
- metal parts are recommended to be washed with gasoline.
We press a new bearing onto the rotor using a mandrel (or head) with a diameter that matches the diameter of the inner ring of the bearing.

Picking up both generator covers, carefully inspect the bearing seats. There shouldn't be any damage.
Cracked covers must be replaced with new ones. We assemble in the reverse order, which our instructions tell you.
At this point, the repair is considered complete. In my opinion, everything is clear without a video! If it is not clear, look for the video by keywords: vaz, repair, 2107, generator.