Timing belt replacement for VAZ 2108, VAZ 2109, VAZ 21099
When do I need to change the timing belt for a VAZ 2108-VAZ 21099?
1) According to the factory every 60.000-75.000 thousand km.
Note!
But you need to check the condition of the belt for severe defects every 15,000 thousand km!
How to replace the timing belt on a VAZ 2108-VAZ 21099?
Withdrawal:
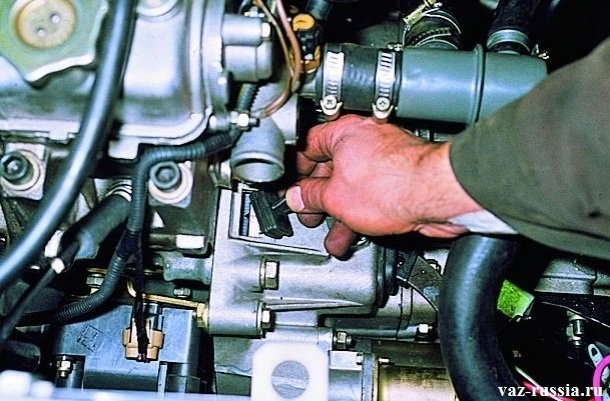
1) First remove both side bolts of the cover.
2) Next, unscrew the last remaining central bolt that secures the cover.
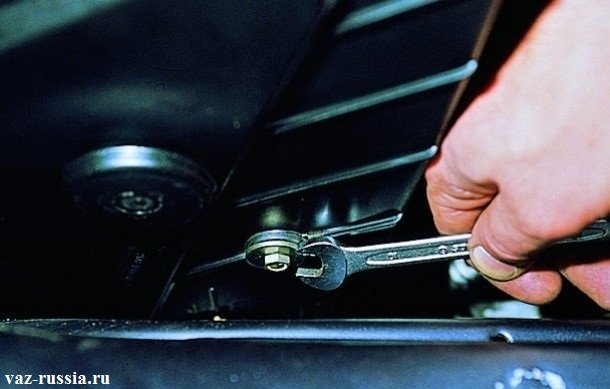
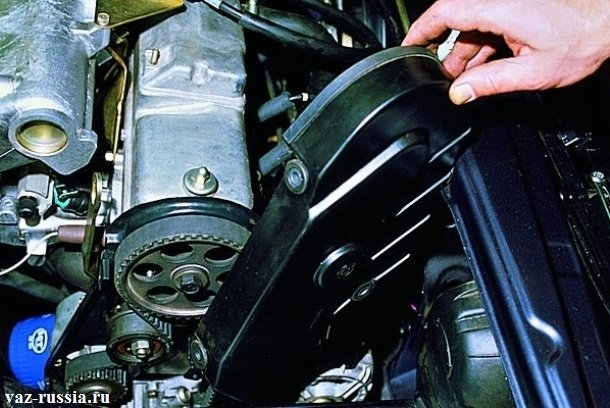
3) Now, holding the cover with your hand, remove it from its seat.
Note!
If your car is also equipped with fender liner, then they will also have to be removed!
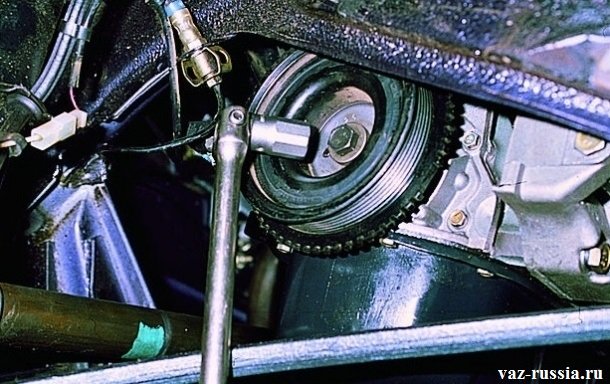
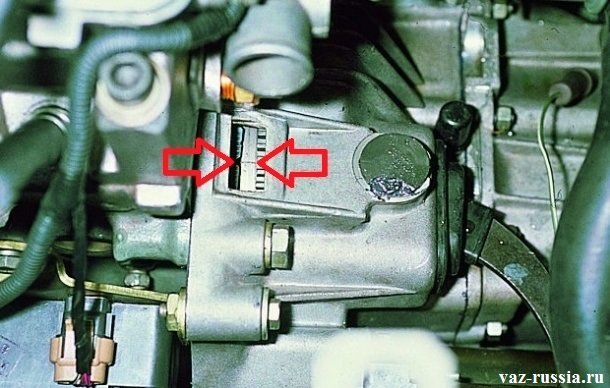
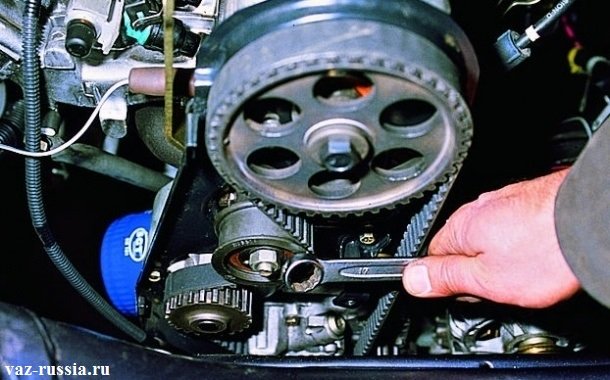
6) Then, for the central bolt that secures the pulley, turn the crankshaft strictly clockwise.
Note!
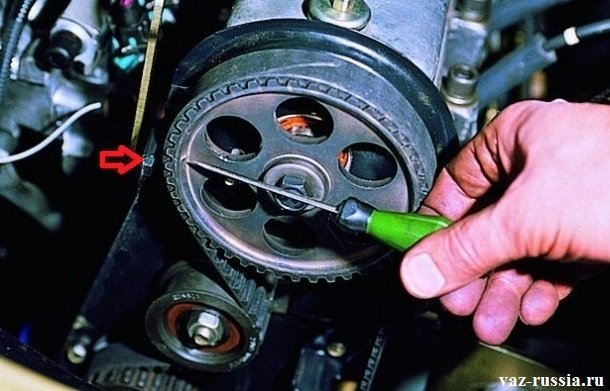
After cranking the crankshaft, pay attention to both marks that are shown in the photo, they must coincide with each other, the first mark that is indicated by a screwdriver is the camshaft mark, and here is the second mark, this cover mark!
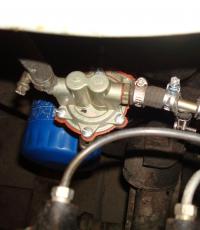
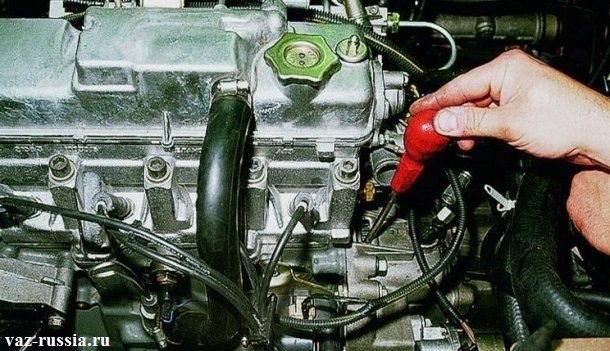
7) Now, pulling the plug with your hand, remove it from the clutch housing.
Note!
In the photo, for easier viewing, the cooling hose is removed!
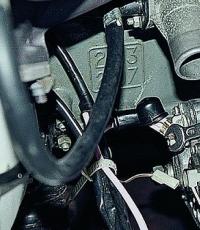
9) Then remove the crankshaft position sensor. (cm. " ")
10) Next, with the help of an assistant, fix the crankshaft from turning, and as a result, remove the generator pulley itself, for this:
1. Have an assistant insert a screwdriver through the through hole in the clutch housing, and then have him fix this screwdriver.
Note!
Screwdriver must be inserted between the teeth of the flywheel!
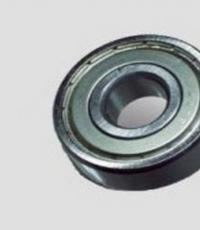
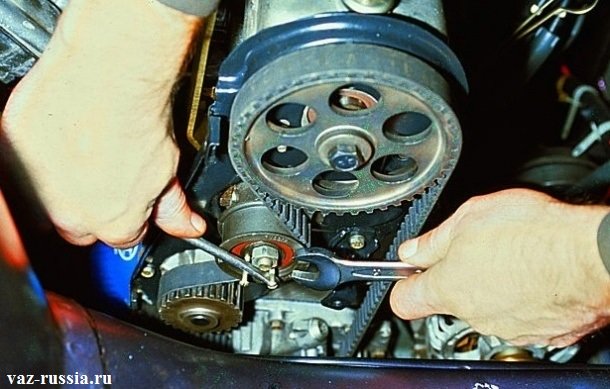
11) Next, using a wrench, loosen the central nut of the tension roller.
Note!
After loosening the nut, rotate the pulley until the belt is loosened the most!
12) Then remove the belt from all rollers, thereby removing it from the engine.
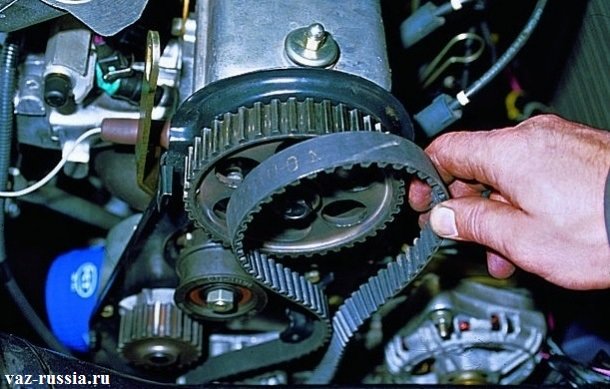
13) Next, after removing the belt, if you need to remove the tensioner for replacement, then completely unscrew the nut of its fastening, and then remove it.
Installing a new belt, start with the lowest pulley, the “crankshaft pulley”!
2) Next, insert a pair of screws into both holes that are in the tension roller housing, and then between these two screws, insert a screwdriver as shown in the figure, and then turn the roller strictly counterclockwise, thereby tensioning the belt, to the desired state.
Note!
Turn the roller strictly counterclockwise!
5) After all the operations done, check the coincidence of the marks on the flywheel, as well as the marks on the camshaft, all these marks must match the risks on the body.
Note!
If at least one of the marks does not match, then in this case, install the belt again!
Checking the timing belt tension:
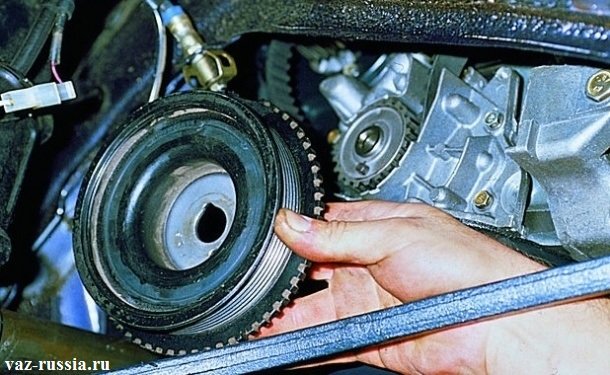
1) To check the tension, turn the belt with a slight effort by 90 °, exactly in the place indicated in the photo.
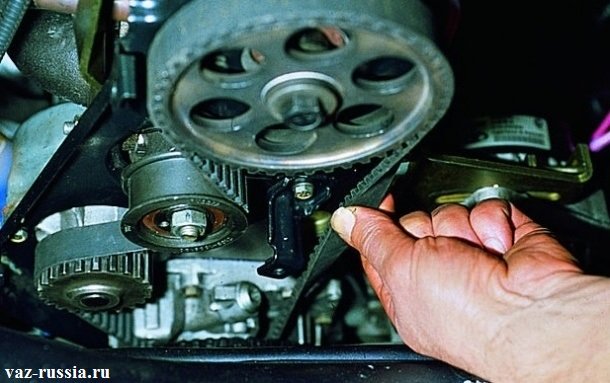
Note!
If the belt turns more than 90° with little effort, then adjust its tension!
Important!
1) After removing the belt, do not rotate the pulleys on which it was installed!
2) Belt tension, adjust only by the tension roller!